(Scroll
down for English...)
Die
zweite Staffel der „Great German Sewing Bee“, ach was, „Geschickt
eingefädelt“, ist angelaufen! Ich habe die Kinder früh zu Bett
gebracht und mir einen ganzen Fernsehabend reserviert.
Über
die letzte Staffel hatte ich viel Negatives gelesen, was ich so nicht
nachvollziehen konnte. Dass wir Deutschen weder so höflich noch so
diplomatisch noch so kritikfähig sind wie die Briten, ist aus meiner
Sicht eine Tatsache und kein Problem, macht aber natürlich eine
andere Atmosphäre im deutschen Fernsehen als wir es vielleicht von
GGSB gewohnt sind. Trotzdem gefällt mir die Sendung (bis auf die
knappe Hälfte der Sendezeit als Werbepause, mal ehrlich, VOX...??).

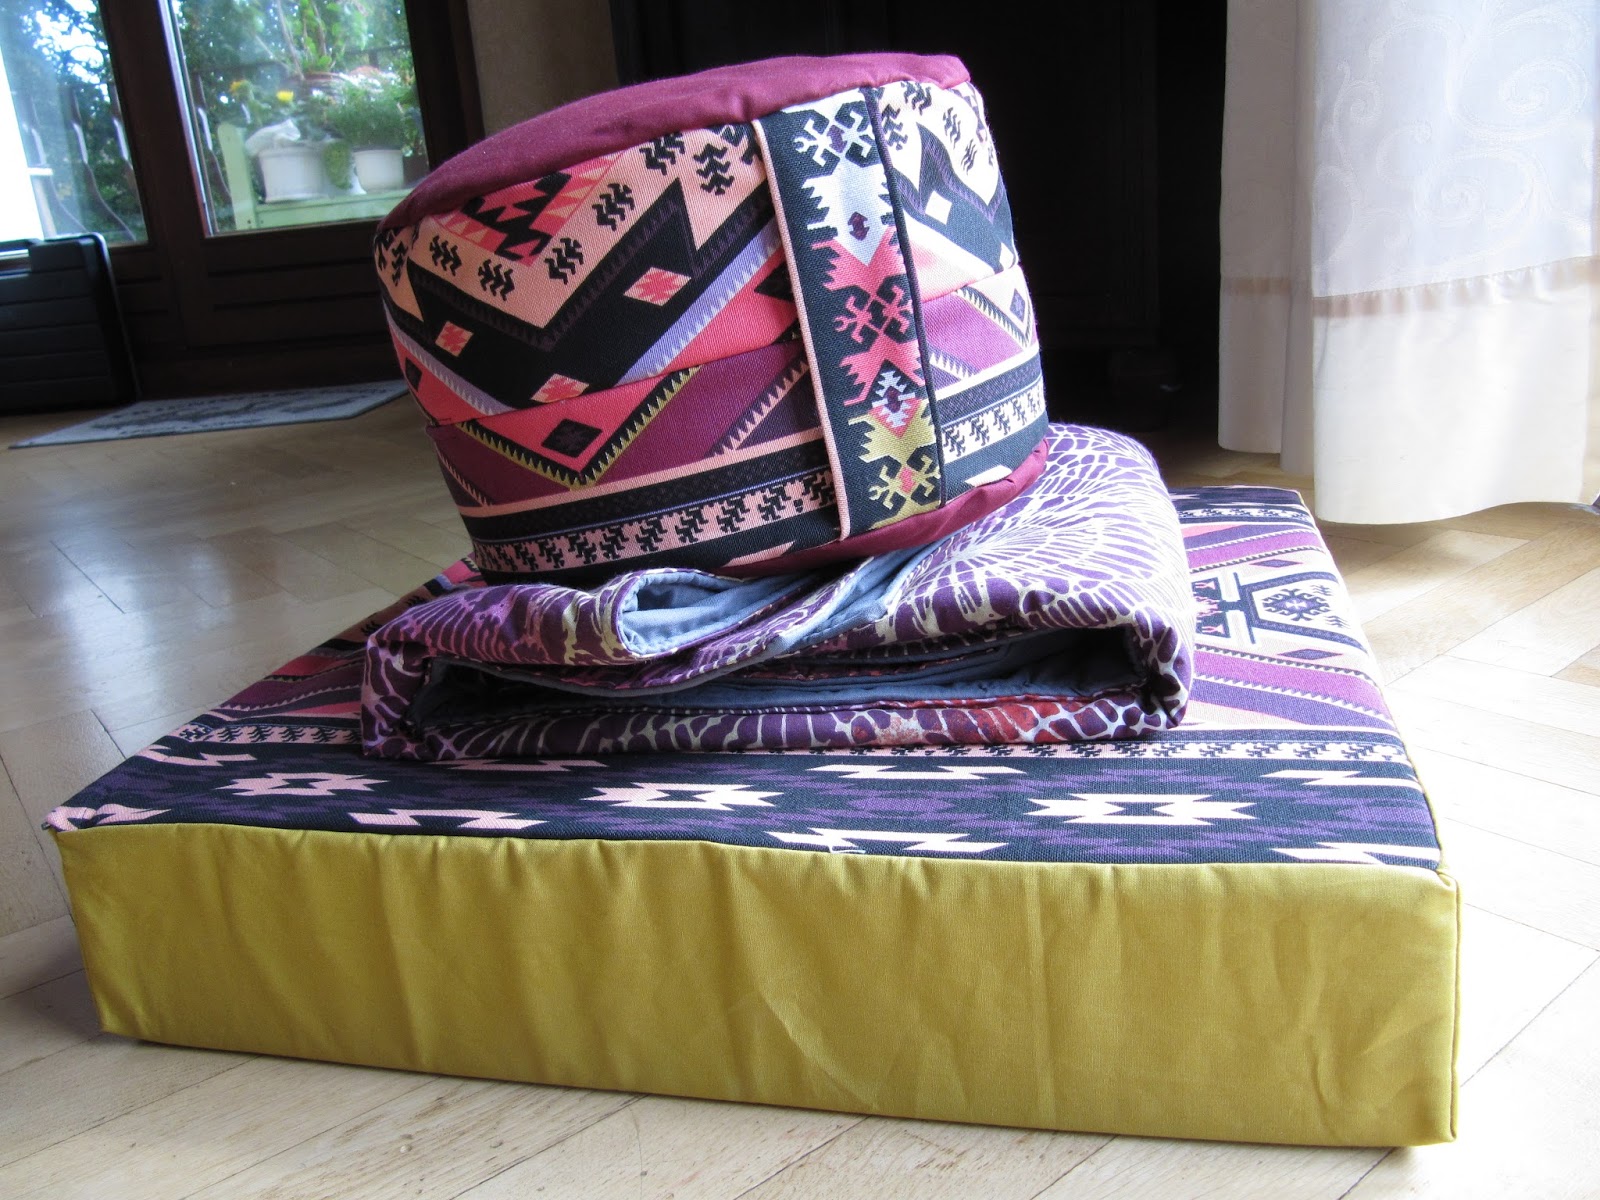
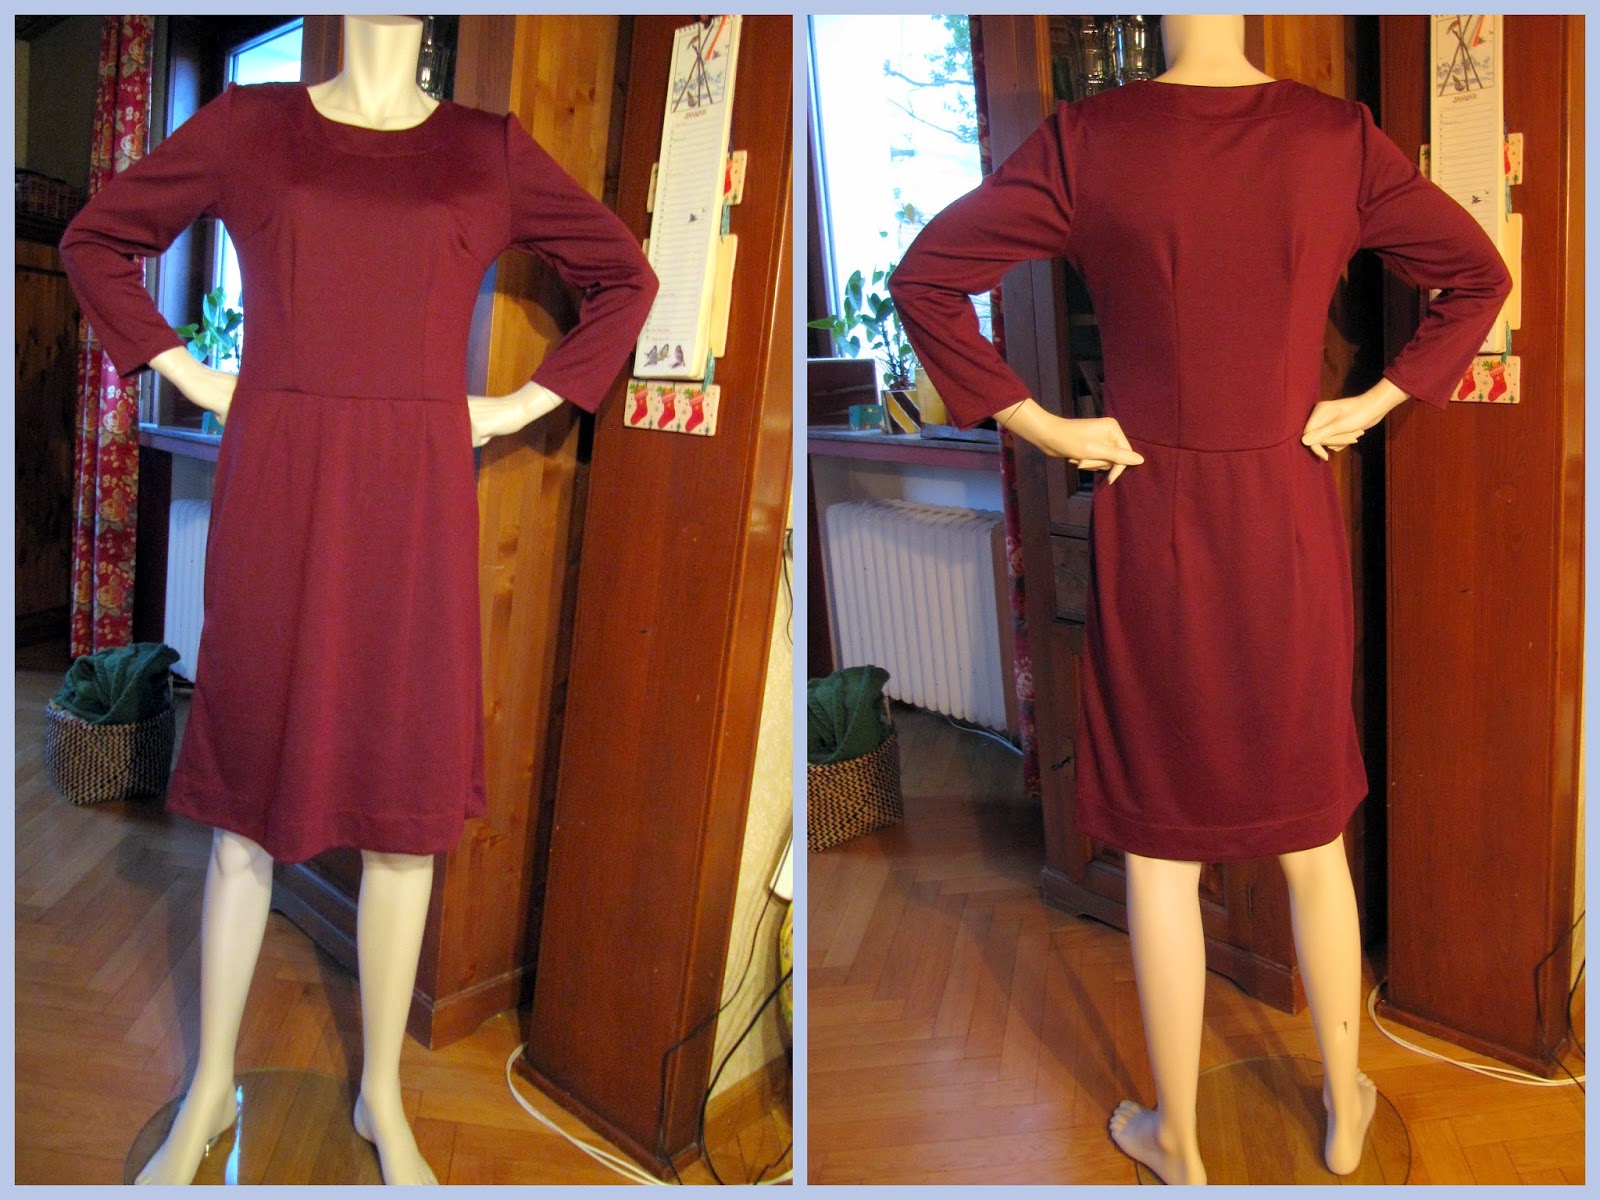
(Ein paar Sachen, die ich dieses Jahr genäht habe... Nicht so genau hinschauen, Inge!)
Ein
paar interessante Typen sind immer dabei. Mit gefiel dieses Mal
besonders die Russin Tatjana, trotz (oder wegen) ihrer ungewöhnlichen
Art. Ich finde es zum einen immer toll, super routinierte
NäherInnen beobachten zu können, mich interessiert aber auch ihre
so ganz andere Ästhetik, die nicht in die üblichen Schemen
hausbacken – retro – modern passt.
Außerdem
oute ich mich als Inge-Fan! Inge Szoltysik-Sparrer hat mich schon in
der ersten Staffel mit ihren tollen Kleidern und ihrem scharfen Auge
beeindruckt. Einmal nähen können wie „Pingel-Inge“! … Bis
dahin muss ich mich darauf beschränken, von ihren Kritiken zu
lernen.

(Ob ich das je nachbloggen werde?!)
Überhaupt
muss ich die Sendung schon aus Prinzip schauen... Dass Nähen im
privaten Reality-TV angekommen ist und damit auf einer Stufe steht
mit Kochen und Häuser renovieren oder was es sonst so gibt, muss
gefeiert werden, oder?
Schließlich
und letztlich weiß ich, wovon ich abends im Bett schön träumen
kann, nämlich von einem perfekt ausgestatteten Nähloft über den
Dächern von Berlin.
Habt
Ihr auch geschaut? Was haltet Ihr von der zweiten Staffel von
„Geschickt eingefädelt“?
******************************************************************
We
have a German sewing bee on TV! I for one am happy for this, and
reserved my entire Tuesday night for a (one woman) viewing party. In
the end, the show was one hour long AND there were so many commercial
breaks I'm not sure the program was more than half an hour
altogether.
Never
mind! I had fun watching the typecasting, sewing and designing
skills, and swooning over the beautiful sewing studio in a Berlin
loft.

(A few things I made this year.)
It's
definitely inspired by „The Great British Sewing Bee“ and last
year there was a lot of negative feedback online due to the
comparison. I think the differences to the British show are at least
partly cultural. Germans are more blunt and a lot less diplomatic
when giving or receiving criticism. The British are exceptionally
kind and corteous, and there was quite a bit more bitchiness and
competitieness on the German show.
One
reason I'm rooting for this show is simply that it exists, that it
makes sewing as natural a part of private station reality TV as
cooking or house renovating shows.
Part
two is that sadly, I never figured out a good way to watch the Great
British Sewing Bee. Hey BBC, get on board with Youtube, will you?!

(Not sure I'll get around to blogging all this...)
Part
three is that I adore the resident sewing expert, Inge
Szoltysik-Sparrer. She owns a couture atelier, wears the most amazing
handmade dresses, and is rather blunt with her critique of the contest
garments – which is tough on the contestants I'm sure, but I learn
quite a lot watching and listening to her.
Do
you have a favorite DIY show? Is there such a thing as an American or
Australian sewing bee on TV? Do tell!