
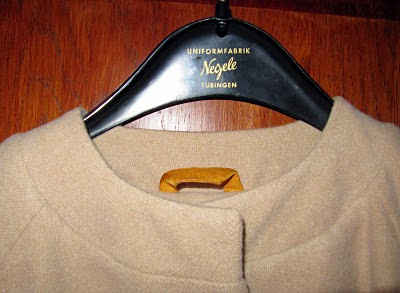
Thank you for your nice comments on the pockets (I thought it might be welt pockets, but the translation software had me confused there...) and your vote of confidence on the collar. In the end, I followed my first hunch to go with the collar-less silhouette. This is the collar now:
Front:
Back:

This is how I drafted it:
First, I decided on the size of the neck opening. I wanted the neck to be 3 cm higher on all sides than the opening was when I had just sewn the front/back/raglan sleeves together. Since I have a rather thin neck, I thought this would leave the neck free, including the curve at the nape, so I wouldn't have to put a curve in the collar.
Then I decided on the width of the neck band; I thought 4 cm like the pocket flaps would be fine.
Last, the shape. Since I didn't want the collar to go up the neck, but to lie flat like an extension of the back/front/(raglan) sleeves, I basically just extended those pattern pieces.
How-to: Tape the front, sleeve and back pattern pieces together at the neck.

Put tissue paper on top; trace and extend the seam/front edge lines.

Trace new pattern 1 cm from neck seam line inside the existing pattern and 3 cm outside of it (= 4 cm neck binding). I cut this apart to make two pattern parts: Extension of the front/front sleeve pattern, and of the back sleeve/back pattern, to be cut on the fold.

Viola!
Full disclosure:
I should have added some width toward the top of the "collar"; it's a little tight at the back neck. I even considered this and noted it on the pattern pieces, but it's so hard to tell the exact fit with upper collar, under collar, facings etc. before the collar is sewn and pressed, and in the end I decided against it.
Also, I made the mistake of not grading the seam allowances at the meeting point of upper collar/under collar/facing. Since I interlined the front and back pieces with cotton flannel, that's a lot of fabric at that seam. I cut it all off too short to grade any more, so in combination with the tight back neck this gives me a little "hump" in the back. Nothing I am going to lose sleep over; just be sure not to make the same mistake!
I'm planning to put snaps on it for closures, not to disturb the clean lines (aside from the embroidered border). I have no idea what's on offer around here; I may have some shopping adventures to share next time!
Truly, that is a stunning coat! I'm sure you will get a lot of compliments when you wear it.
ReplyDeleteBeautiful, beautiful coat! Did you embroider it yourself?
ReplyDeleteI love it! So perfect for spring.
ReplyDeleteThe band was the perfect neck finish! I am very into snaps lately.
ReplyDeleteSo pretty! This is a classic coat you can pass on to your daughter.
ReplyDelete